How to Bake Chickpeas
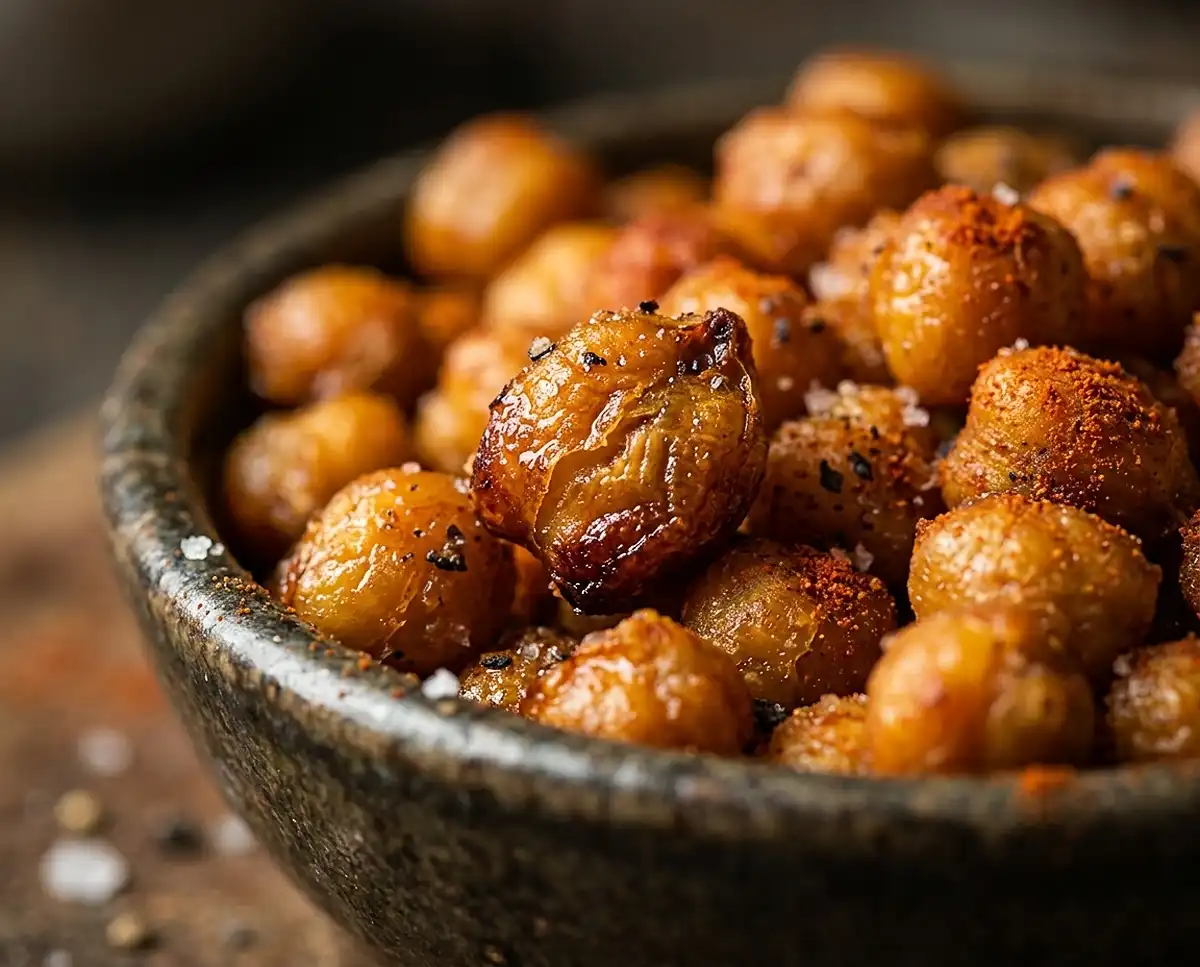
How to bake chickpeas: So you wanna know how to bake chickpeas? Girl, same. I used to drop like five bucks on those tiny bags of crunchy chickpeas at the grocery store until one day I was like… wait, can I just make these myself? Spoiler alert: YES, and it’s ridiculously easy.
Turns out, making crispy baked chickpeas at home costs maybe a dollar and tastes way better than anything you’ll find in a bag. This roasted chickpeas recipe has become my go-to healthy chickpea snack whenever I need something crunchy that won’t leave me in a guilt spiral later. You can make them plain, or go wild with spiced chickpeas – I’m talking garlic, paprika, ranch seasoning, whatever you’re feeling. Now I literally keep a can of chickpeas in my pantry at all times just for snack emergencies. Trust me, once you make these, you’ll never go back to overpriced store-bought ones again.
Table of Contents
Why This One Works
You get a crispy, salty snack that tastes like you tried way harder than you actually did. They’re great straight out of the oven, tossed on salads, or tucked into wraps for extra crunch. And honestly, once you nail the drying step, they’re basically foolproof.
Ingredients
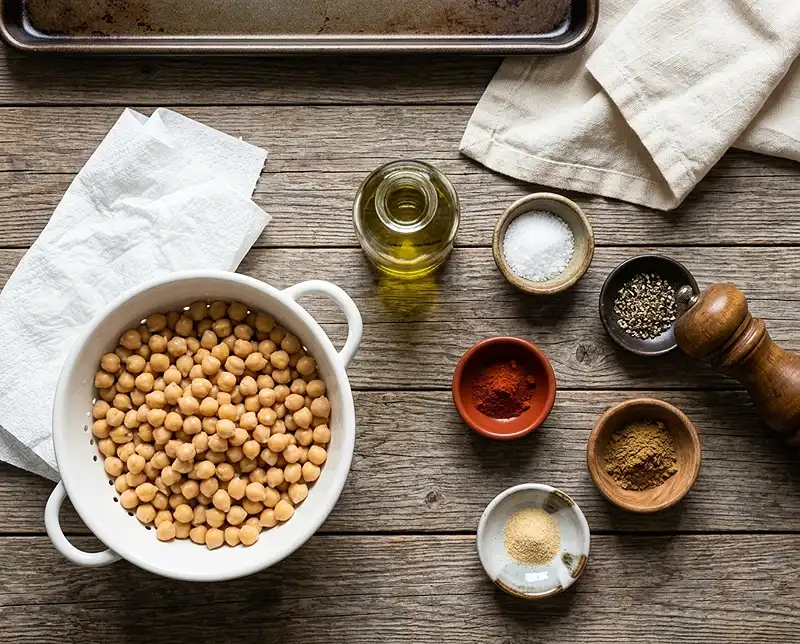
Everything you need is probably already in your kitchen. If you’ve got a can of chickpeas and some oil, you’re most of the way there.
| Ingredient | Amount | Notes |
|---|---|---|
| Chickpeas | 1 (15-ounce) can, rinsed and drained | Garbanzo beans are the same thing – use whichever name your store calls them |
| Olive oil | 1 tablespoon | Just enough to coat – too much makes them soggy |
| Salt | 1/2 teaspoon | You can always add more after tasting |
| Black pepper | 1/4 teaspoon | Freshly ground tastes better but pre-ground works fine |
| Paprika, cumin, or garlic powder | 1/2 teaspoon (optional) | Pick one or mix them – this is where you make it yours |
Instructions
The secret to crispy baked chickpeas is getting them bone-dry before they hit the oven. I learned that the hard way after my first batch came out chewy instead of crunchy.
Get Everything Ready
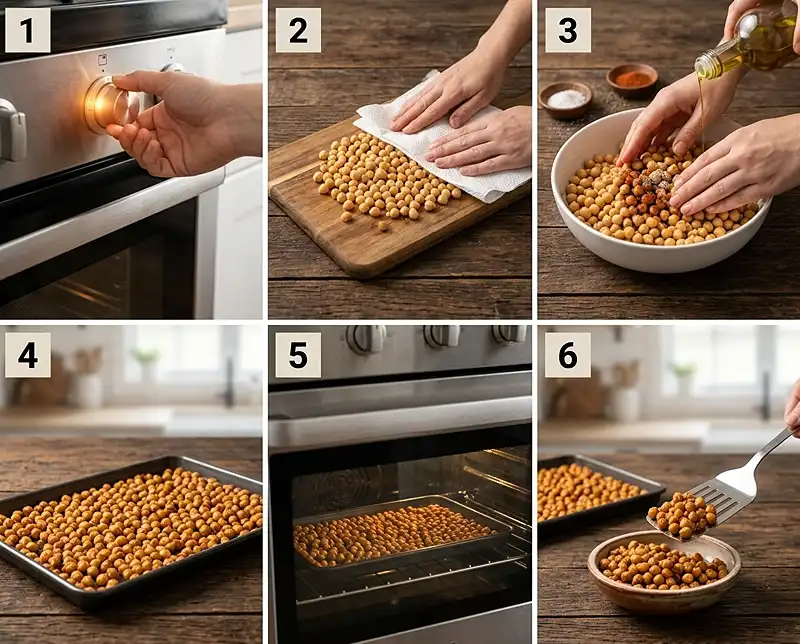
- Preheat your oven to 400°F. Don’t skip this – the chickpeas need that immediate blast of heat to start crisping up. I tried starting them in a cold oven once and they just sort of steamed themselves instead of roasting.
- Drain and rinse the chickpeas. Dump them in a colander and run cold water over them for a few seconds. You’ll see some cloudy liquid and loose skins wash away – that’s what you want.
- Dry them really, really well. Spread the chickpeas on a clean kitchen towel or a couple layers of paper towels. Pat them dry, then let them sit for a few minutes while you get the baking sheet ready. I mean it when I say dry – any moisture left on them is the enemy of crispiness. If a few skins come loose while you’re patting, just toss those skins. They burn faster than the chickpeas anyway.
Season and Spread
- Toss the chickpeas with oil and seasonings. Put them in a medium bowl, drizzle the olive oil over them, then add your salt, pepper, and any spices you’re using. Stir everything around with a spoon or just use your hands – I usually go with hands because it’s faster and you can feel if everything’s coated evenly. For this healthy chickpea snack, you don’t need a lot of oil, just enough to help the seasonings stick.
- Spread them in a single layer on a baking sheet. Use a rimmed sheet pan if you have one, and don’t crowd them. If they’re piled on top of each other, the ones on the bottom stay soft. I line mine with parchment paper because cleanup is easier, but you don’t have to.
Bake Until Golden
- Bake for 20 to 30 minutes, stirring halfway through. Set a timer for 10 minutes and give the pan a good shake or stir with a spatula. This helps them brown evenly. Then put them back in and start checking after another 10 minutes. You’re looking for golden brown color and a sound – when you stir them, they should rattle around the pan like little pebbles, not thud softly. I burned my first batch because I got distracted folding laundry, so stay near the kitchen during the last few minutes.
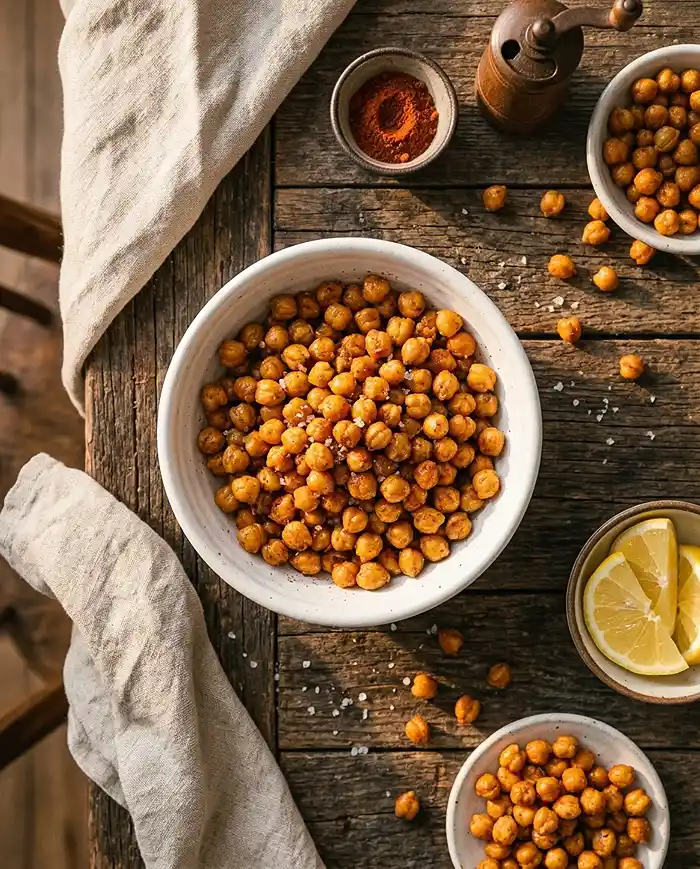
- Let them cool on the pan. They’ll seem a little soft when you first pull them out, but they firm up as they cool. Give them at least five minutes before you taste one. If you try to eat them straight from the oven, they’ll be hot and not quite as crunchy yet.
Kitchen Notes
Tips for Extra Crunch
If your crispy baked chickpeas come out a little soft, pop them back in the oven for another five minutes. Sometimes thicker-skinned chickpeas just need more time. And if you want them really crunchy, you can crank the oven up to 425°F for the last five minutes – just watch them closely so they don’t burn.
Some people like to peel the skins off before roasting. I tried it once and it took forever, and honestly I didn’t think the texture was that much better. The skins get crispy too, so I leave them on. But if you’re feeling patient or you’ve got a kid who wants to help, it’s an option.
Flavor Variations
Once you’ve got the basic roasted chickpeas recipe down, you can go wild with seasonings. Toss them with taco seasoning, ranch seasoning powder, or cinnamon and a tiny bit of sugar for a sweet version. I’ve done curry powder and a squeeze of lime juice, which was great on top of this chickpea salad with feta and avocado.
For spicy spiced chickpeas, add cayenne pepper or chili powder along with the paprika. Start with 1/4 teaspoon and taste before adding more – it’s easier to add heat than to take it away.
You can also toss them with a little nutritional yeast and garlic powder right after they come out of the oven for a cheesy flavor without any actual cheese.
What to Do When Things Go Wrong
If they’re still soft after 30 minutes, they probably weren’t dry enough before they went in. You can keep baking them – I’ve gone up to 40 minutes before – but next time spend more time drying them at the start.
If they burn on the outside but stay soft inside, your oven might be running hot or you put them too close to the top heating element. Try lowering the temperature to 375°F and baking a little longer, and make sure the pan is on the middle rack.
Sometimes a few chickpeas pop open and get really dark and crispy while the rest are still pale. That’s fine – just pick out the super-dark ones when you stir at the halfway point.
The Harvard School of Public Health notes that chickpeas are a great source of plant-based protein and fiber, so even if your batch isn’t Instagram-perfect, you’re still eating something good for you.
Storage
These stay crunchy for a couple days if you keep them in the right container. After that they start to soften up, but they’re still totally edible.
| Storage Method | How Long | Notes |
|---|---|---|
| Room temperature (airtight container) | 2-3 days | Don’t seal them until they’re completely cool or they’ll steam and get soggy |
| Room temperature (paper bag) | 1-2 days | Lets moisture escape, keeps them crispier but they’ll dry out faster |
| Refrigerator | Not recommended | The moisture in the fridge makes them soft |
If they do lose their crunch, spread them on a baking sheet and pop them back in a 350°F oven for about five minutes. Let them cool again and they’ll crisp right back up. I do this all the time with day-old chickpeas.
You can also toss soft leftover chickpeas into spicy tacos with creamy slaw or onto this hearty bean salad where the crunch doesn’t matter as much. They add protein and a roasted flavor even if they’re not perfectly crispy anymore.
How to Bake Chickpeas
Ingredients
- 1 15-ounce can chickpeas, rinsed and drained
- 1 tablespoon olive oil
- ½ teaspoon salt
- ¼ teaspoon black pepper
- Optional: 1/2 teaspoon paprika cumin, or garlic powder for flavoring
Instructions
- Preheat your oven to 400°F (200°C).
- Pat the rinsed and drained chickpeas very dry with a paper towel. This is crucial for crispiness.
- In a medium bowl, toss the dried chickpeas with olive oil, salt, and pepper. If using, add any optional spices.
- Spread the chickpeas in a single layer on a baking sheet.
- Bake for 20-30 minutes, stirring halfway through, until golden brown and crispy. Keep an eye on them to prevent burning.
- Let cool slightly before serving. They will crisp up further as they cool.
How to Bake Chickpeas FAQs
What temperature should I bake chickpeas at?
Bake chickpeas at 400°F (200°C) for optimal crispiness. This temperature is hot enough to dry them out and create a crunchy exterior while ensuring they don’t burn. Some recipes call for temperatures between 375°F and 425°F, but 400°F provides the best balance for achieving crispy results in about 20-30 minutes.
Do I need to dry chickpeas before baking them?
Yes, drying chickpeas thoroughly before baking is essential for achieving maximum crispiness. After draining canned chickpeas or cooking dried ones, pat them completely dry with paper towels or a clean kitchen towel. You can also let them air dry for 15-20 minutes. Remove any loose skins that come off during drying, as they can burn in the oven.
How long does it take to bake chickpeas until crispy?
Baked chickpeas typically take 20-30 minutes to become crispy at 400°F. Shake the pan or stir the chickpeas every 10 minutes to ensure even cooking. The exact time depends on how dry your chickpeas were before baking and your desired level of crispiness. They should be golden brown and crunchy when done. Let them cool completely on the baking sheet, as they will continue to crisp up.
Should I use oil when baking chickpeas?
Using a small amount of oil when baking chickpeas is recommended but optional. Toss the dried chickpeas with 1-2 tablespoons of olive oil or another cooking oil before baking. The oil helps seasonings stick and promotes browning and crispiness. However, you can bake them without oil for a lower-fat version, though they may not be quite as crispy or flavorful.
When should I add seasonings to baked chickpeas?
Add seasonings to chickpeas before baking for the best flavor. After coating them with oil, toss with your chosen spices like salt, paprika, garlic powder, cumin, or any other seasonings. However, if using seasonings that burn easily or contain sugar, you can add them halfway through baking or immediately after removing them from the oven while they’re still hot so the seasonings will stick.